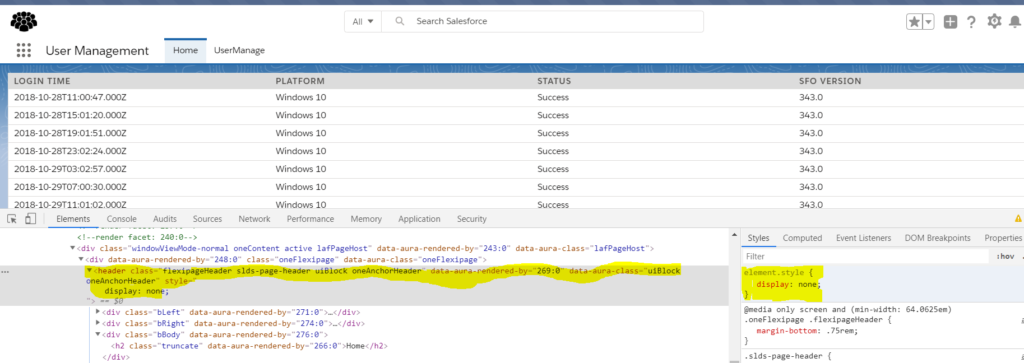
From :

to This:

There are two methods to accomplish this.
Approach 1
Starting from W19, it’s now possible to include Lightning components as tabs. This approach eliminates the need for a custom header. I strongly recommend considering this option unless you intend to incorporate global actions on your new tab page.
In your Lightning component bundle, enable Lightning Tab as a target:
<LightningComponentBundle xmlns="http://soap.sforce.com/2006/04/metadata">
    <targets>
        <target>lightning__Tab</target>
    </targets>
</LightningComponentBundle>
Navigate to Setup > Tabs > Lightning Component Tabs. Click on “New,” and then select your component.
Substitute the Lightning Page Tabs with the Lightning Component Tabs you’ve just created.
Approach 2
Incorporate a style sheet as a static resource and link it within your component.
header.flexipageHeader.slds-page-header.uiBlock.oneAnchorHeader {
    display: none;
}
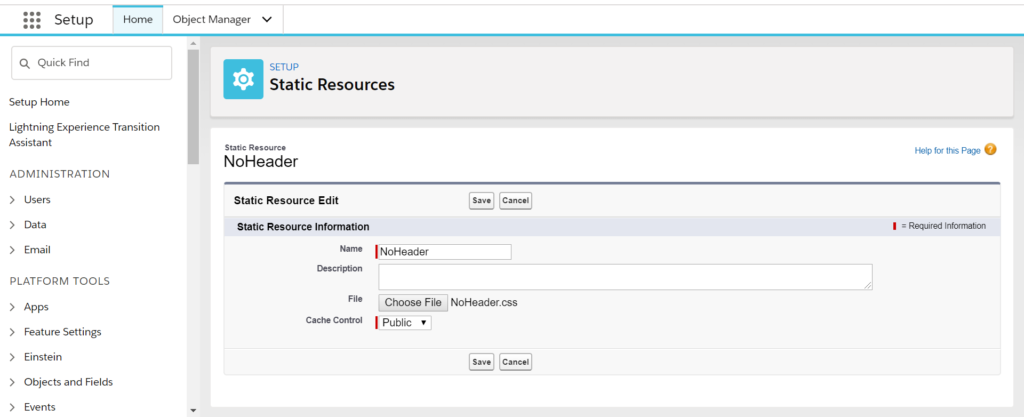
Save this file with any desired name, appending it with .css. In my case, I named it NoHeader.css.
Then, proceed to upload it to Salesforce’s static resources:

Afterwards, insert the following snippet anywhere in your component:
For AURA:
<ltng:require styles="{!$Resource.NoHeader}"/>
For LWC:
import HideLightningHeader from '@salesforce/resourceUrl/NoHeader';
import { loadStyle, loadScript } from 'lightning/platformResourceLoader';
Next, within the connectedCallBack() method:
connectedCallback() {
    loadStyle(this, NoHeader)
}
