Authored by Neyaj Ansari of Tenetizer Technology
Anypoint Flex Gateway is a lightweight, cloud-native API gateway with versatile deployment options. It can expose both MuleSoft APIs and non-MuleSoft APIs to the public internet. When configured in connected mode, Flex Gateway becomes a valuable tool for managing and securing APIs running on Kubernetes.
In Kubernetes, an Ingress Controller is a resource responsible for handling external access to a Kubernetes cluster. Ingress Controllers commonly offer features like load balancing, SSL termination, and name-based routing.
This blog post serves as an introductory guide to using Anypoint Flex Gateway as a Kubernetes Ingress Controller in connected mode.
Requirements
Prerequisites for this setup include:
- Anypoint Platform
- Docker Desktop
- A running Kubernetes environment
- To establish a local instance, you can choose to install either k3d or minikube. Alternatively, you can use a cloud service provider like EKS or AKS. For this example, we will use Minikube.
- Helm with a minimum version of 3.0.0.
Step 1: Fetch the Flex Gateway Image
To install Flex Gateway on Minikube, execute the following command to retrieve the Flex Gateway Docker image:
docker pull mulesoft/flex-gateway

Step 2: Registering the Flex Gateway
To register the Flex Gateway, we have three authentication mechanisms available:
- Connected App
- Auth Token
- Username & Password of Anypoint Platform
In this example, we will register the Flex Gateway using a Connected App. To proceed, ensure that you have a Connected App configured with the following permissions:
- Read Servers
- Manage Servers
- View Organization
Next, refer to the command below and make the necessary adjustments. Run this command in your command prompt, and it will generate a registration file in the location specified within the ‘$(pwd)’ placeholder.
docker run --entrypoint flexctl -v "$(pwd)":/registration mulesoft/flex-gateway register --organization=<organization-id>--client-id=<client-id> --client-secret=<client-secret> --environment=<environment-id> --output-directory=/registration --connected=true <gateway-name>

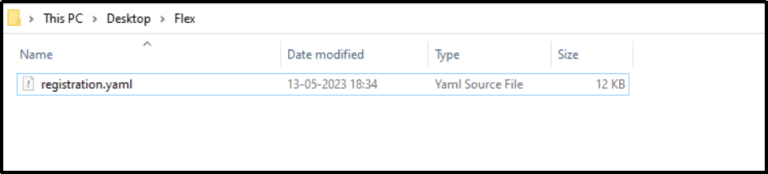
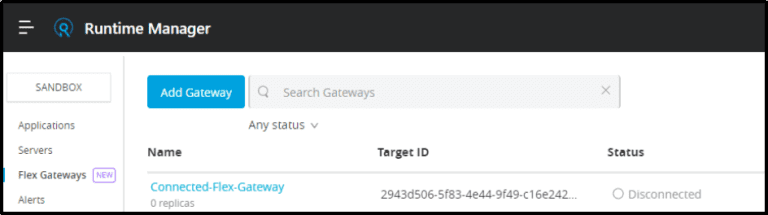
After executing the command, you can observe the creation of the Flex Gateway within the Anypoint Platform’s Runtime Manager. During this stage, the status will be marked as ‘Disconnected’.
Step 3: Creating a Namespace
When using Minikube, we’ll establish a dedicated namespace called ‘gateway’ for the installation of the Flex Gateway.

You can access the Minikube dashboard by executing the following command:
minikube dashboard

This command will open the Minikube console in your web browser, presenting a dropdown menu of namespaces, as depicted in the screenshot below.
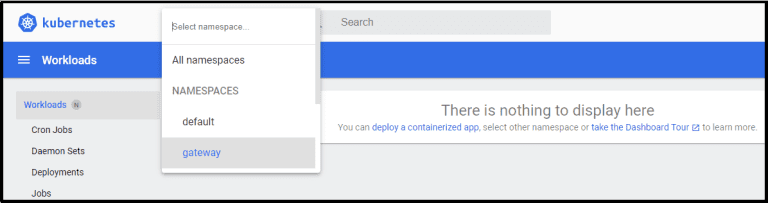
If you wish to remove a namespace, you can execute the command ‘kubectl delete namespace [your-namespace]’ from your command prompt.
Step 4: Including the Flex Gateway Helm Chart
To add and update the Flex Gateway Helm repository, execute the following command:
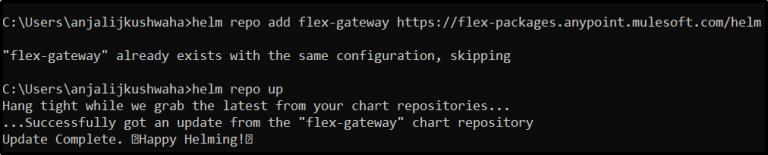
Step 5: Deploying and Establishing the Gateway Connection
To deploy the gateway to your Kubernetes cluster and establish a connection with the Anypoint Platform, utilize the following command in your command prompt, ensuring you are in the directory where your registration file is located:
helm -n gateway upgrade -i ingress flex-gateway/flex-gateway --set-file registration.content=registration.yaml --set
gateway.mode=connected

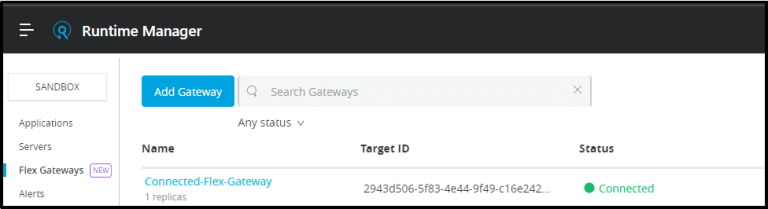
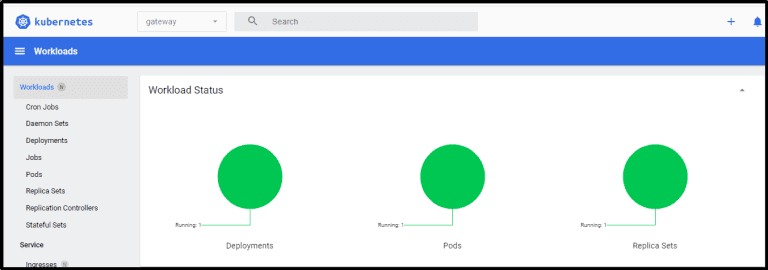
Upon executing the aforementioned command, a single replica will be generated within the ‘Flex Gateway’ on the Anypoint Platform, and the Flex Gateway will now display as ‘connected’.
We can also assess the health of the replica within the Minikube dashboard.

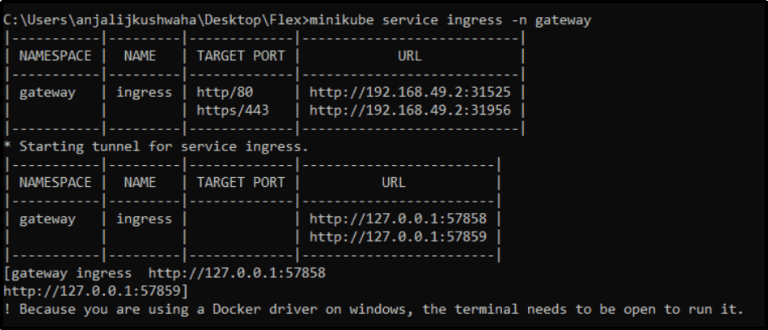
The following command can be utilized to retrieve the list of services functioning within the ‘gateway’ namespace. This command will provide details about the ingress service, including a private URL for accessing the ingress.